For many photographers, large format is the gold standard when it comes to photographing people, but they are intimidated by the perceived complications of using a view camera. The essential thing to remember is that a 4×5″ camera is really a very simple device. If you have a reasonable grasp of the basics of photography, you can use a view camera.
1. Set up before your subject arrives
You often hear the cliché that film helps you slow down. I think it is more accurate to say that different cameras lend themselves to working at a certain maximum speed and no faster. View cameras can be slow to operate, and this can often make you feel like you are rushing if you have a portrait sitter in front of you and you are trying to get set up while they sit there waiting. My personal preference is to have an assistant sit in while I get set up, and then bring in my subject when I feel I am ready, or even better get set up before they arrive. This avoids the sitter getting bored and lets you set up in your own time. Even if you can’t do this, it makes sense to be be as prepared as you can be before your sitter arrives.
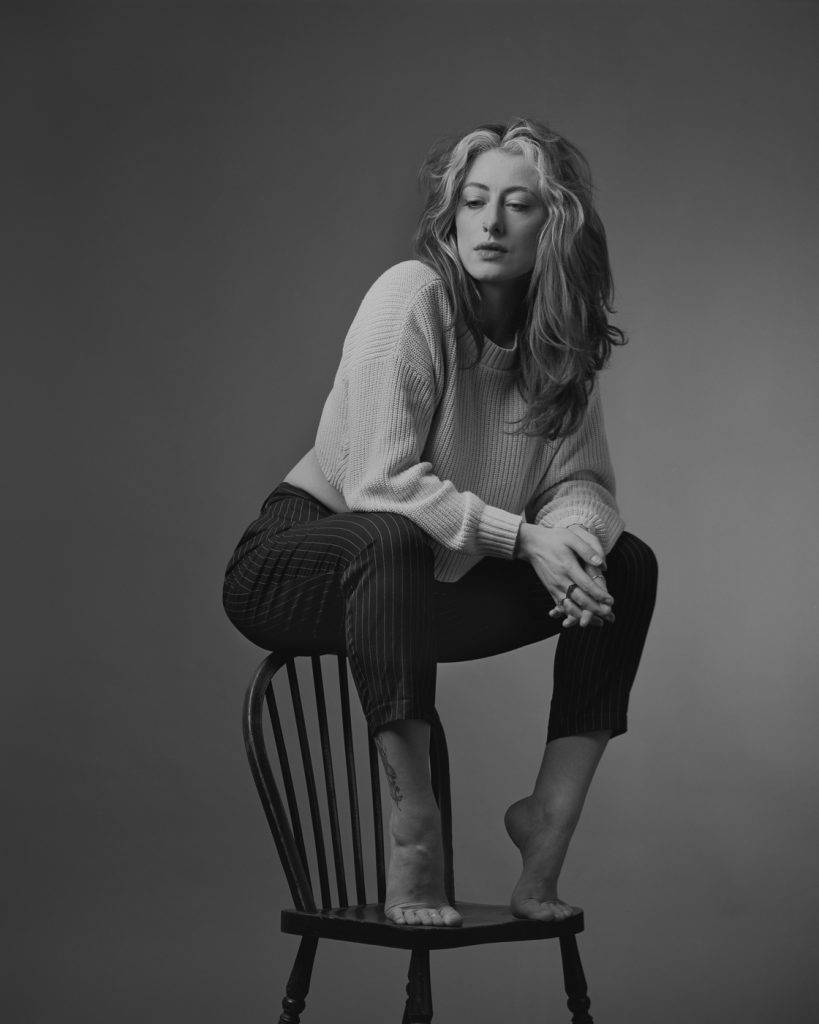
2. Use a stool or tape a mark on the floor to keep your composition and simplify focusing and resetting
One of the ‘interesting’ features of a large format camera is that once you load it with film, you can no longer see to focus. Even if you are well practised in setting up and focusing your camera, there is always a break between focus and taking a picture. So there is always a risk of the subject moving before you manage to take a shot. For tighter shots, it makes sense to sit you subject on a tall stool to minimise the chances they sway out of focus. If they are standing, try to mark the floor so that if they move or take a break you can quickly get back to work without having to adjust everything.
3. Don’t be Afraid of Small Apertures.
Many photographers feel that shallow depth of field helps a portrait by drawing attention to the subject. The good thing about large format is that it has the capacity to produce shallow depth of field even at apertures like f11 because of the size of the film. As a rule of thumb, any aperture on a large format camera gives a depth of field equivalent to opening 3 or 4 stops wider on a full frame digital camera. So f5.6 is like 1.4 and f11 is like 2.8. This gives the added advantage of being able to use the optically ‘best’ apertures of a lens without losing shallow depth of field. Even f22 is equivalent to f5.6. The other advantage of large format is that diffraction is less of a problem. This is because you don’t have to enlarge your negative so much so you can use apertures like f32 or f45 and you should still be able to produce very large prints without any visible loss of sharpness.
4. Manage your shadows, not your highlights
If you are more familiar with digital photography than film, you will be used to monitoring and protecting your highlights when you are shooting, under exposing to protect them in necessary. If you are shooting negative film the opposite is true. While film has great dynamic range, all of the flexibility is in the higher values, with the shadows vulnerable to loss of detail if not exposed correctly. This is why many film photographers err on the side of overexposure often rating their film at slower than box speed. It also makes sense to add slightly more fill to your shadows, to give yourself a safety margin in post production.
5 Proof with your digital camera.
Now that 4×5 pack film is unavailable and new instant films are expensive and not made with proofing in mind, it makes sense to find an alternative way to check your lighting and exposure before you start shooting expensive sheets of film. A digital camera is the most obvious way of doing this. If, like me, you like the simplicity of using cables to connect your lights, then ideally you need a camera with a PC socket. I use a an old 5d mark II with a standard zoom, so I don’t have to worry about frying the electronics of a new camera, however unlikely that may be. If I am using a digital camera to meter as well I usually add 1/2 stop of exposure on top of what my digital camera says.